Ever wanted to run DMR on a Mac? Well, you can, and it works well. You’ll need a few things to get started:
- A Mac with sufficient processor power / RAM and disk space (I used a MacBook Pro Mid 2015 with a Quad Core 2.2 Ghz Intel Core i7 – Parallels uses 4GB of RAM and 15GB of disk space at a minimum)
- A powered USB hub (needed for the DVMEGA stick)
- A DVMEGA DVstick 30 for Dstar and DMR ($150)
- Parallels for Mac ($80 one time or $99/yr with extra features and support)
- A Windows 10 license (you can run it without a license if you don’t mind the nag screens)
- The BlueDV Software (which may ask you to install the .NET packages)
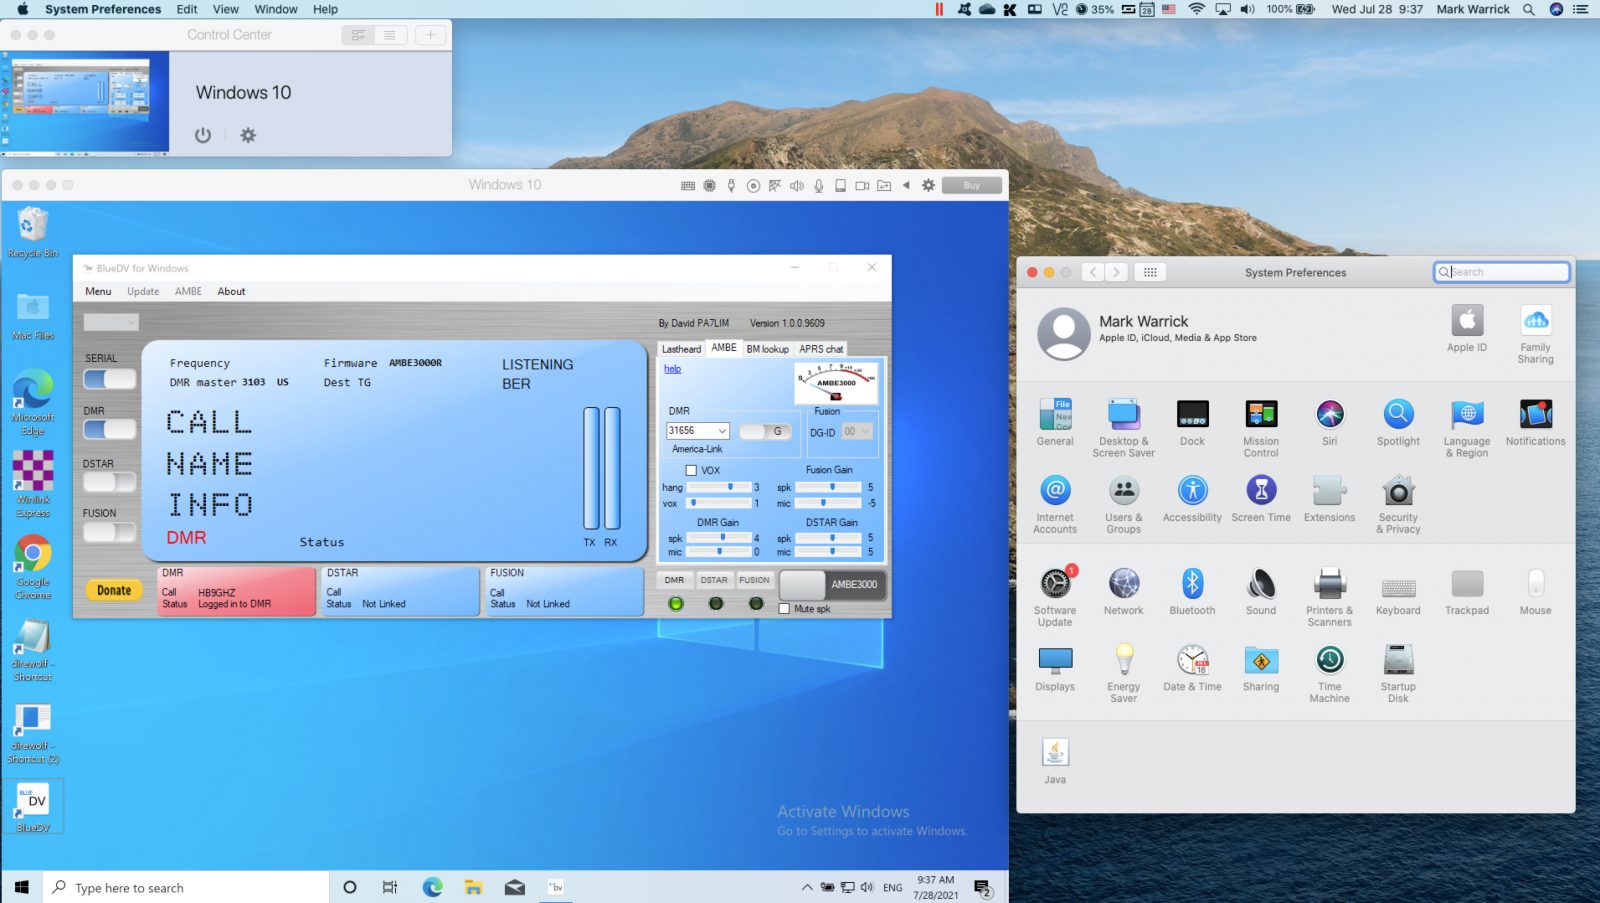
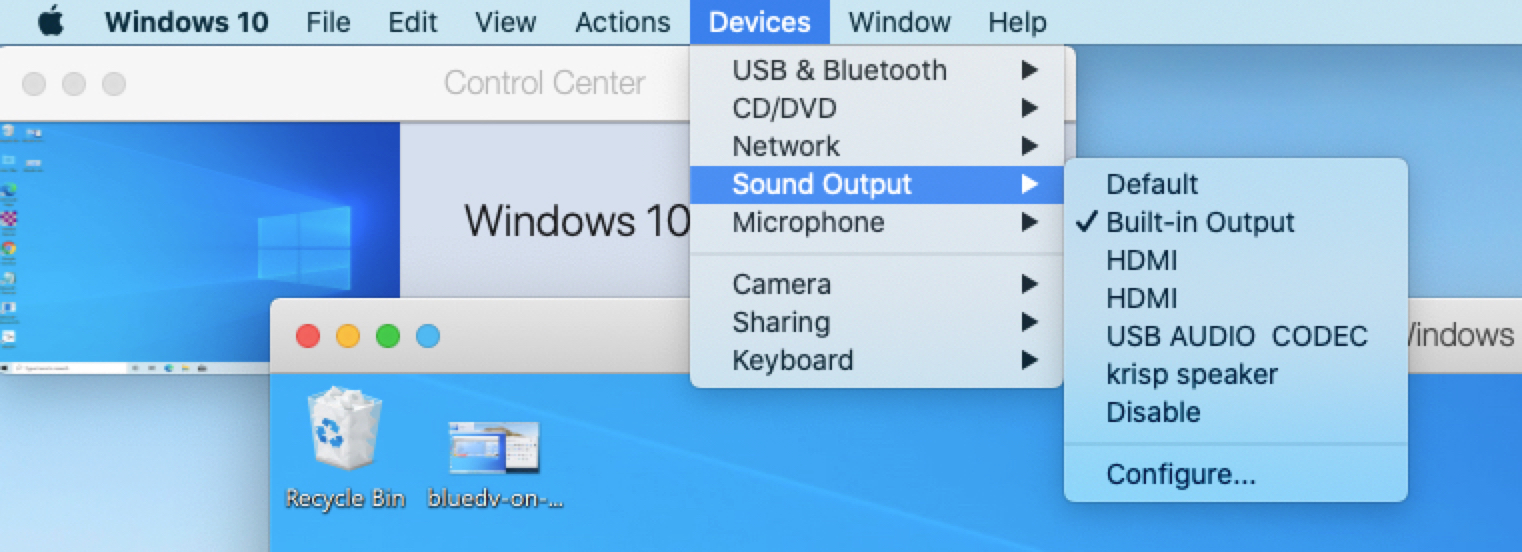
Once you have Parallels installed with Windows 10, adding BlueDV for Windows on a Mac is similar to doing it on a PC. The main difference would be in how you activate the Mac’s built-in speakers and microphone to be used within the Parallels environment. The settings are in Parallel – just click Devices, Sound Output and pick the speakers you want to use (i.e. Built-in Output) and then do the same for the Microphone settings.
If you need help configuring BlueDV, watch the step-by-step video below.
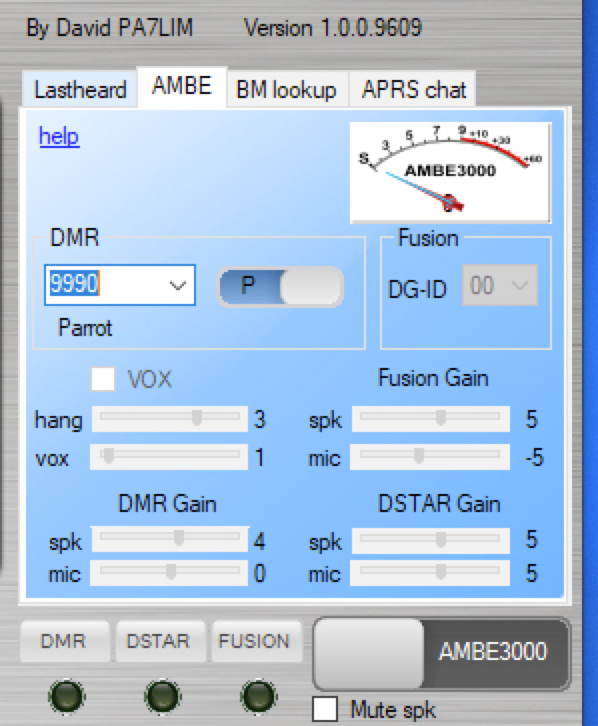
Once everything is setup, use the Parrot channel in private mode (P) to test your microphone and speakers.
P.S. It also works for Dstar and System Fusion. Enjoy!